Mastering Fort Condor and Junon Protorelics: A Comprehensive Strategy Guide for Final Fantasy 7 Rebirth
- Jul 31, 2024
- 53

The realm of Final Fantasy 7 Rebirth intricately weaves nostalgia with modern gameplay mechanics, enchanting long-time fans and new players alike. Throughout the journey, you're taken on intricate minigames and challenges, which spark delightful memories of the classic title. One such prominent challenge lies within Fort Condor and Junon Protorelics. This guide delves deep into mastering these activities, ensuring your success across all tiers.
Rediscovering Fort Condor
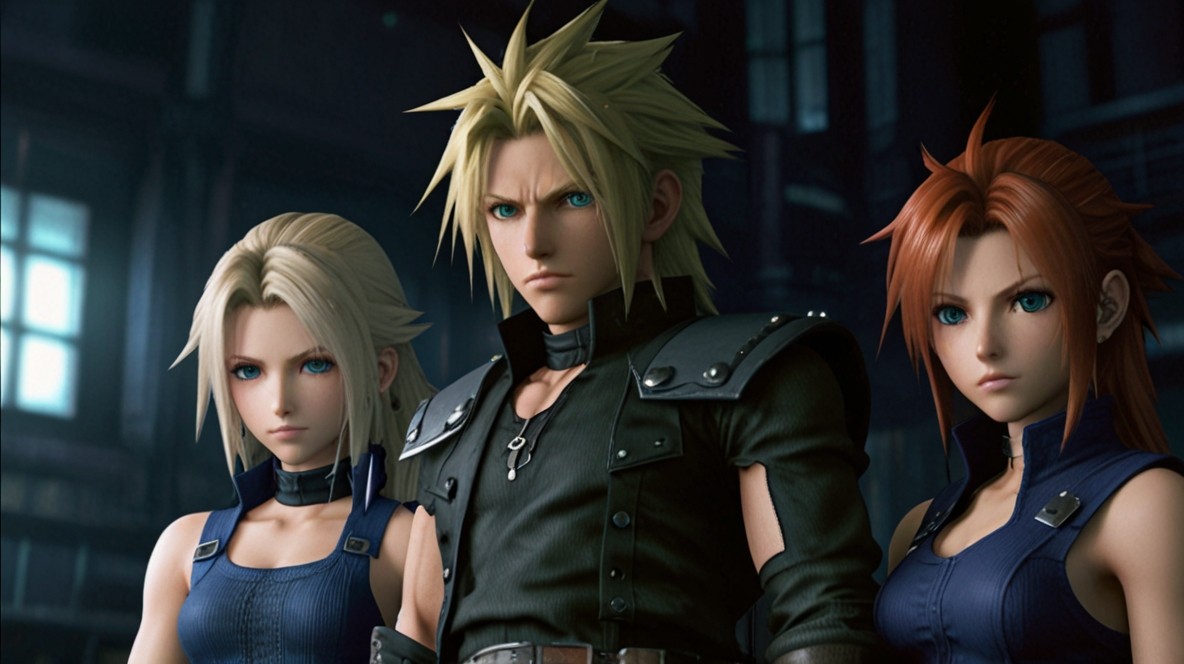
The Fort Condor minigame has returned with an enhanced role in Final Fantasy 7 Rebirth. No longer a mere one-off, it integrates seamlessly into the gameplay experience, becoming available from Chapter 4: Dawn of a New Era. This fortified mini-strategy game is crucial for completing the Junon Protorelic objectives. Engaging with Fort Condor isn't just rewarding; it's essential for pushing through the story's critical path.
Unveiling Junon Protorelic Challenges
The road to unlocking the Junon Protorelic challenges commences by advancing the primary campaign within Under Junon. Upon reaching specific milestones, a series of locations and tasks will unfold. The path often begins with smaller undertakings, rising in complexity as you delve deeper into the Junon region. As you progress, the challenges will accumulate, ensuring that your skills are continually tested and refined.
The Mechanics of Fort Condor
At its core, Fort Condor mirrors the intrigue and strategy of classic MOBA and tower defense games. The high stakes revolve around two opposing headquarters, with victory determined by the first to overrun the enemy's stronghold. Battles unfold along two lanes, and the right-hand side meter indicates incoming enemy units, demanding tactical positioning and timely responses.
Unit Dynamics
Understanding the unit advantages is imperative:
- Vanguard Units (Red): These melee specialists excel in close combat, easily dismantling ranged units.
- Ranged Units (Green): Capable of striking from afar, these units shine when targeting defense units.
- Defense Units (Blue): Renowned for their durability, they can endure significant damage while overpowering vanguard units.
Strategic deployment is vital, with units moving and engaging automatically. The ATB gauge, found in the upper-left corner, governs when new troops can be summoned. Additionally, heroes like Cloud, Barret, and Tifa can be deployed, bringing area of effect (AoE) damage to the battlefield.
Advanced Tactics
Fort Condor isn't just about brute force; strategic placement and choosing the right moment to deploy troops can turn the tide of battle. Additionally, support units are available to heal your troops, and forward artillery can be strategically placed to impact the enemy’s progression. As you breach deeper into enemy lines, the ability to spawn units closer to the enemy HQ becomes crucial while managing the encroaching foe units adeptly.
Prime Strategy for Victory

To excel in Fort Condor matches, a well-thought-out setup is indispensable. Here’s our preferred strategy:
The Entrench Setup: Stronghold Defense Focus
Hero Units: Cloud and Barret
This setup shines for its robust combination of tankiness and healing. The Elite Enforcer/Enforcer coupled with 3x Cleric renders an almost unbeatable combination.
Detailed Deployment Plan
We generally focus our efforts on the right lane, keeping a vigilant eye on enemy movements along the left. Here's the phased strategy:
- Commence with an Elite Enforcer on the right side lane.
- Deploy 2x Clerics a few steps behind for healing, followed by 1x Elite Ranger for damage. This configuration ensures effective damage output while minimizing risk.
- Upon passing the chokepoint, place a Trebuchet on the right. This disrupts enemy formation with AoE damage.
Adaptability is key. Should hostiles advance on the left lane, deploy Elite Vanguards to counter. Adjust your roster with more Elite Enforcers or Clerics on the right as necessary.
Decisive Counterattacks
Utilize Trebuchets and Ballistae to block or slow advancing enemy units. Despite potential pathing issues, their strategic use reshapes the battlefield. Summon Cloud or Barret when foes cluster, leveraging their AoE for decisive wins and continued pressure on the enemy HQ.
The Final Showdown
Completing the Junon Protorelic and Fort Condor tasks opens hard mode, adding a layer of challenge with tougher enemy units and slight nerfs to your troops. This harder difficulty isn't just a test of your strategic skills; it’s another step in the grand narrative. Furthermore, a cutscene featuring the Eccentric Swordsman enriches the journey beyond the typical gameplay loop. Completing these quests immerses you deeper into the lore, unlocking additional content essential for avid fans and newcomers.
Final Fantasy 7 Rebirth promises an enriching ride through the nostalgic yet innovative world of Gaia. With our detailed guide to Fort Condor and Junon Protorelics, you are well-prepared to tackle these challenges head-on. Venture forth and let the grandeur of FF7 Rebirth envelop you in an unforgettable adventure!